We had a meetup to exchange gifts and see each other in person for the first time in a while! Thanks to everyone who came.


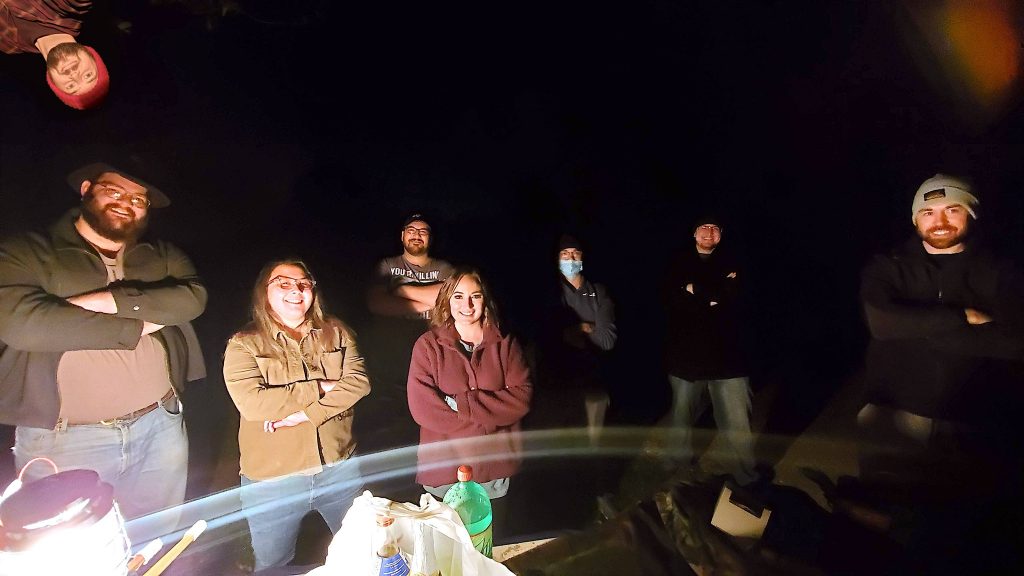
Later in the night we got a sword demonstration:

A Site Geared FOR Gamers, BY Gamers
We had a meetup to exchange gifts and see each other in person for the first time in a while! Thanks to everyone who came.
Later in the night we got a sword demonstration:

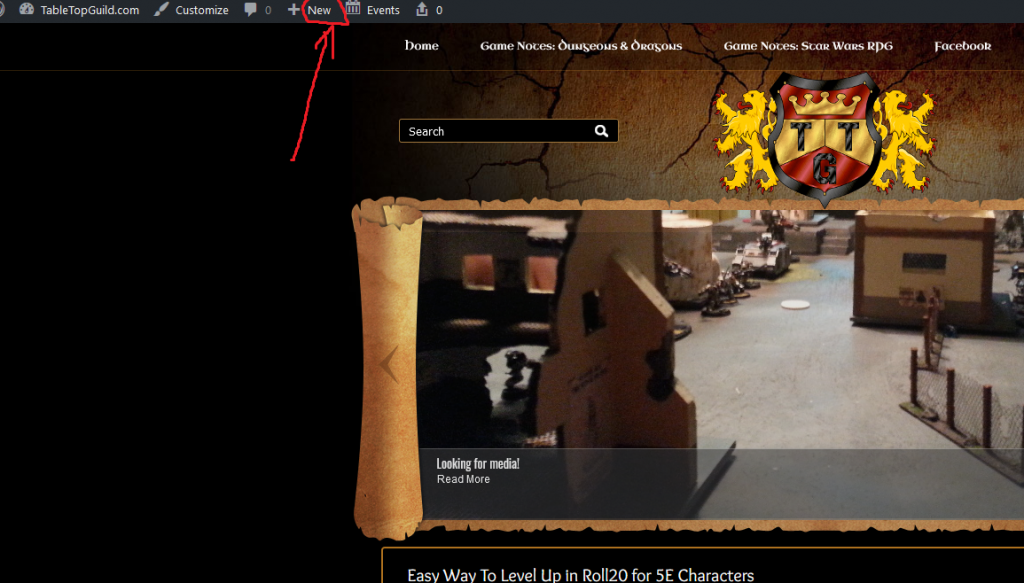
Click “New” then “Post” at the very top of your screen (once you log in with the proper credentials). Then click “Publish”. That’s it. It’s just like Facebook.
If you want to contribute articles to the website, contact Patrick and he’ll give you the credentials!
No sane person wants to manually enter all the new information from a level up if it can be avoided. Thankfully, Roll20 has an automatic level up process for 5E characters. Before you continue, you should backup your character in the Character Vault.
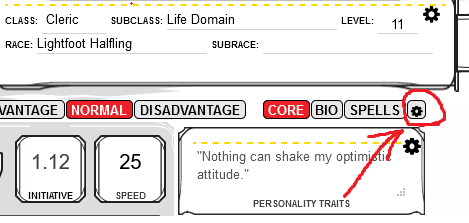
1. It’s easy to start the process from your character sheet. First, click the settings button pictured:
2. In the next screen, click on the “Launch Level+ CharacterMancer” button. Don’t click the top CharacterMancer button (“Launch Level 1”) or you’ll erase your character:
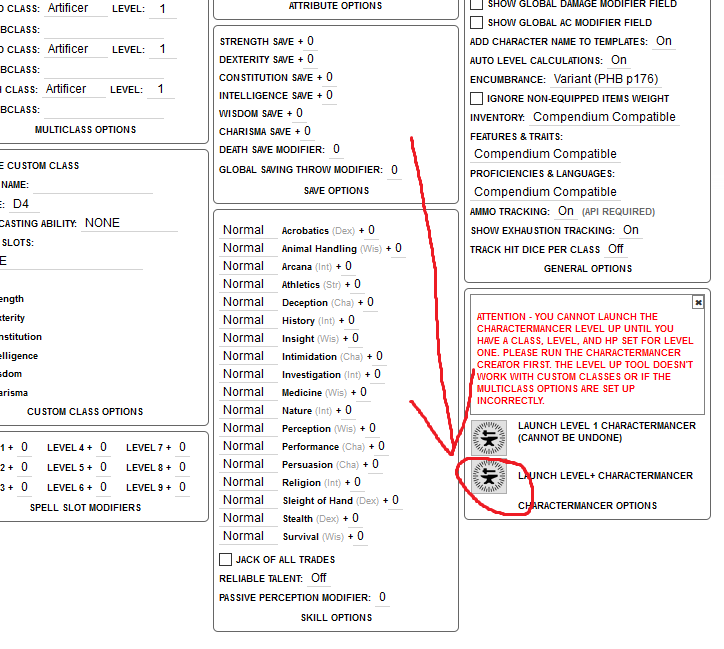
3. Work your way through the next few dialogs and that’s it! Easy peasy. Just as a reminder, since we are playing by Adventure League rules you want to choose the “Average” HP when the increase in HP dialog box appears. Happy leveling!

I figure one of the better ways for us to utilize this website is to make it an archive for the pictures we have taken at War40K tournaments, tabletop D&D games, Roll20 shenanigans, etc. It should be a monument to us. Feel free to upload any media you have to our server in the “Archive” directory and I’ll compile an area for us to look at them!
If you need access to our file server, feel free to contact Patrick.
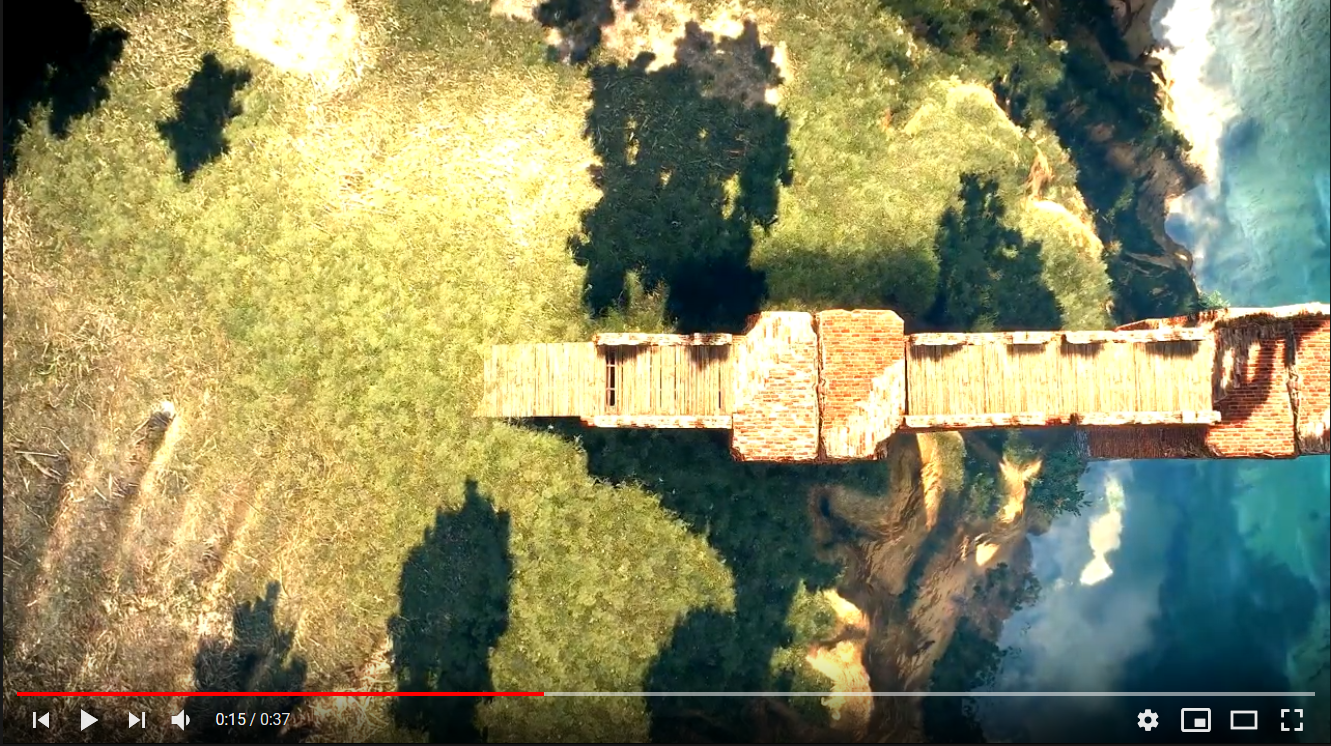
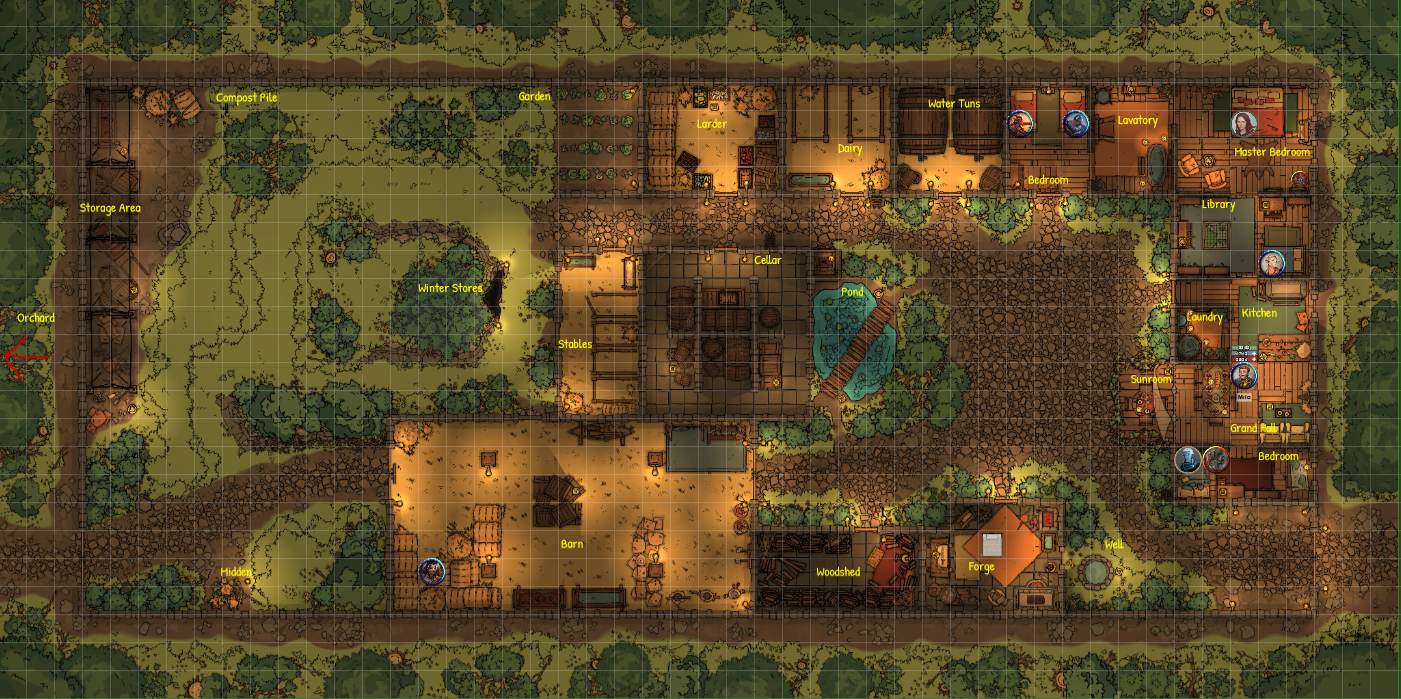
Ever seen those really cool animated backgrounds in YouTube and think to yourself “man I wish I could use that in Roll20”? Well, it turns out you can, with a few easy steps. I tested it out earlier tonight and it works great. You could have maps like the one below for your players in 8 easy steps.
1. After your fresh download of the Roll20 Enhancement Suit, you should now have a new icon in the player area with a roll of film.
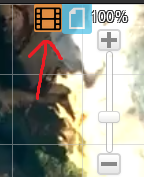
2. Click on this new icon will bring you to this screen:
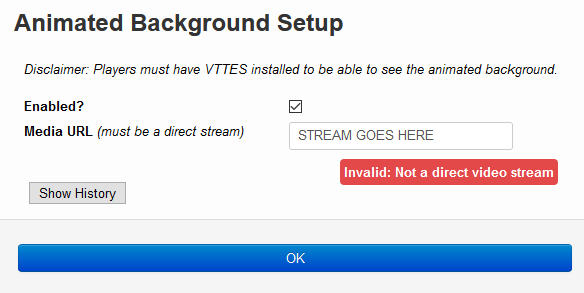
The only part that concerns us in this dialog box is the “Media URL” input, where I have written “STREAM GOES HERE”. You need to fill this in. This has to be a direct stream URL, not the YouTube URL that we are familiar with, so we have to convert it. Which brings us to our next step and why you needed to download VLC.
3. First, choose the YouTube animated background map you wish to use and open it in its own tab. Copy the web address in the address bar to your clipboard (CTRL-C). You will need this address in a moment.
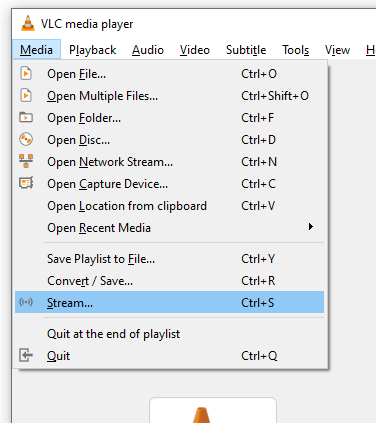
4. Open VLC. Click on Media on the menu bar, then Stream….
5. Click the Network tab. Paste the URL of the YouTube video you copied earlier where it says “Please enter a network URL” and click Stream below. Then push Next (the next few dialogue screens don’t matter, so keep pushing it) until the video is loaded.

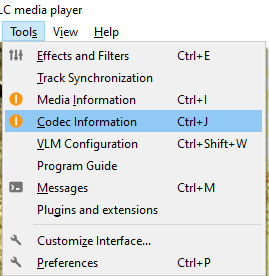
6. The video should start playing, but ignore that for now. What you want to do is click Tools in the menu, and then click Codec Info (or just press CTRL-J).
7. On the bottom of the new box, there will be a Location with a URL. Right click it, “Select All“, right click it again, “Copy“. This is the MEDIA URL to the video that the extension on Roll20 was asking for.
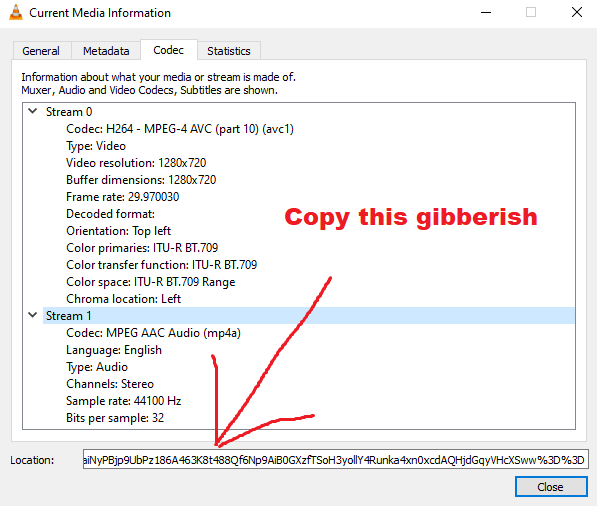
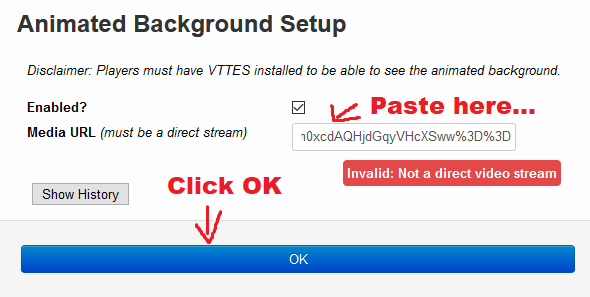
8. That long line of gibberish is the “Media URL” that the Roll20 Enhancement Suit needs to run the animated map. Make sure you copy the whole thing! Paste it into the Media URL in the Roll20 Animated Maps Setting and that’s it! It should load automatically.
It might appear daunting at first with all 8 of these steps, but I assure, it’s super easy once you get the hang of it.
As a side note, I’ve only figured out how to do this today and I’m sure there will be bugs found in the future. I’ve already discovered one: the “Media URL” seems to expire after a few hours, so you have to do the whole process with VLC just before your game. I’m sure others will be found as well. But it sure it cool technology I think we should use.
Finally, I feel like I have to note that you can use any video for a map, not just a YouTube one. It is outside the scope of this guide, but if we run out of YouTube maps I can write a guide for that as well (it is a different process).
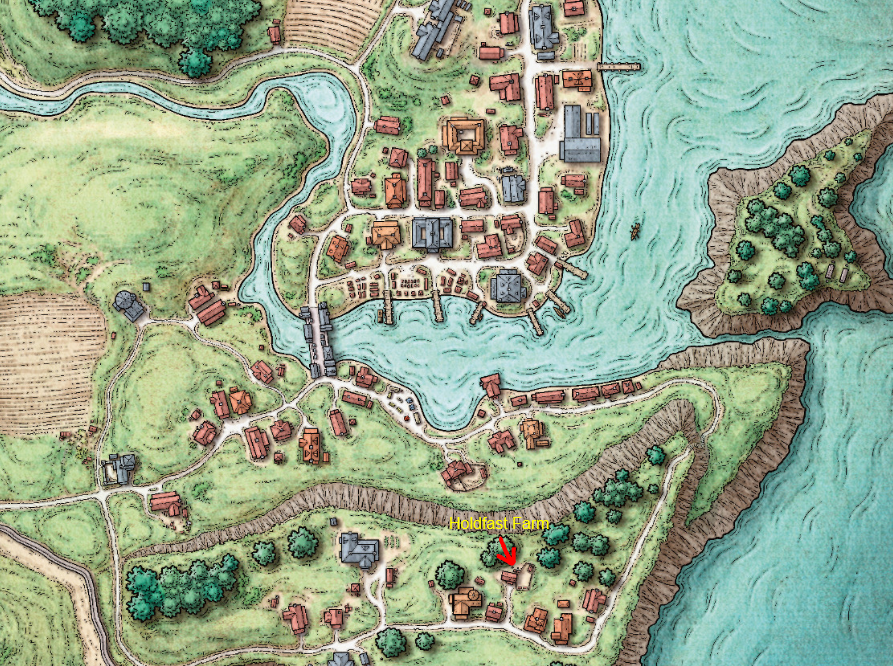
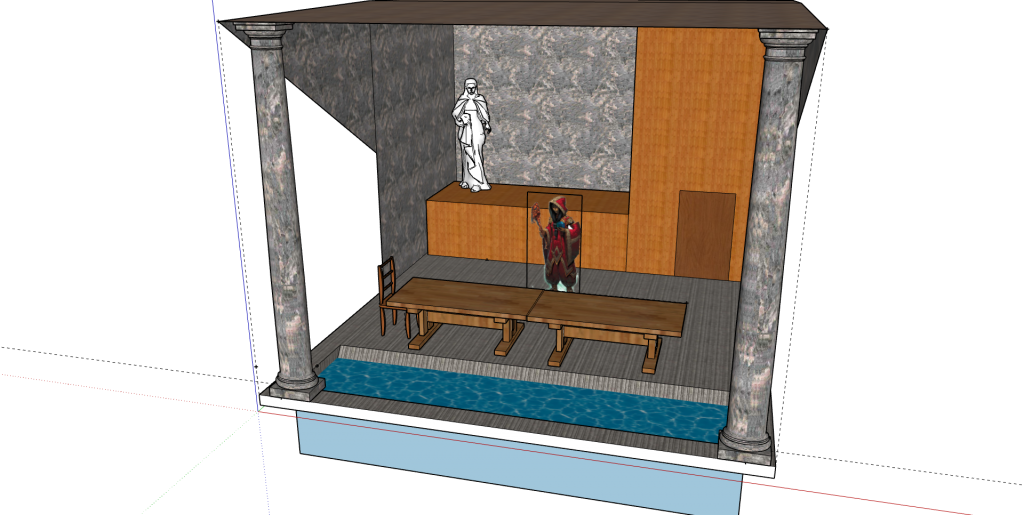
In our latest adventure, Milo and Rook bought an outlying homestead which has since been named “Holdfast Farm”.
It is currently located in the Southern Outskirts of town, near a noisy wizard named Keledek the Unspoken.
Milo is planning to build a tiny temple to Cyrrollalee, the halfing deity of friendship, trust and hospitality in the open quart-yard near the main entrance.
What do we want to do in Saltmarsh? How will we further deck out our homestead? Write below in the comments!

Some of you have mentioned an interest in creating macros for Roll20 recently. I’ve put together a mini-guide on what I’ve learned about them below.
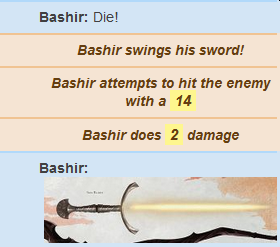
For our intents and purposes, a macro is basically a pre-generated chat message. Everything you can do in a macro you can do manually by typing it into Roll20 chat. But, to save yourself some time, you create a macro so you don’t have to laboriously type it out every time you want do a certain action. For example, here is what my attack macro looks like for Bashir:
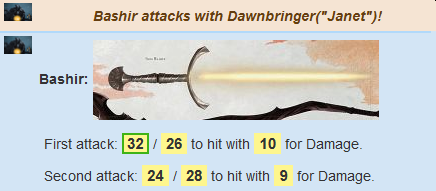
Within this “pre-generated chat message” in the form of a macro you can also embed dice rolls, include pictures, third-person character actions, etc. Plus, when properly created, it looks much nicer than having just a long list of confusing dice rolls cluttering up the Roll20 chat.
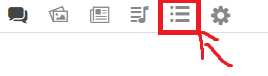
You can only create a macro within a Roll20 game, so log into Roll20 and click on “Launch Game” . From within there, click on the “Collection” tab:
Then click on “Add“:
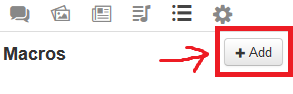
This will bring up the following screen:
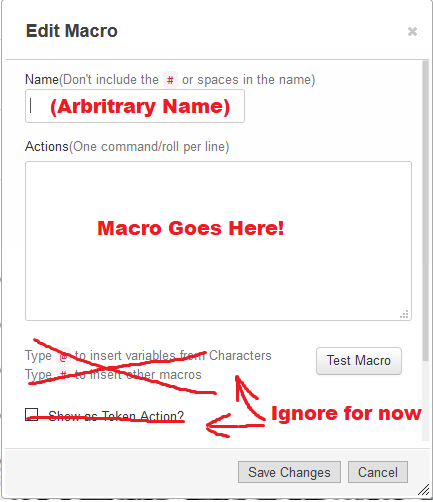
Under “Name”, just create a name for your macro like “Bashir-Attack” or something. It automatically puts in hyphens for spaces.
Under Actions is where you write the chat commands for the macro. There are a number of things you can make your macro do.
Just typing into the “Actions” box straight up without anything extra will make your character say those things. For example, typing in:
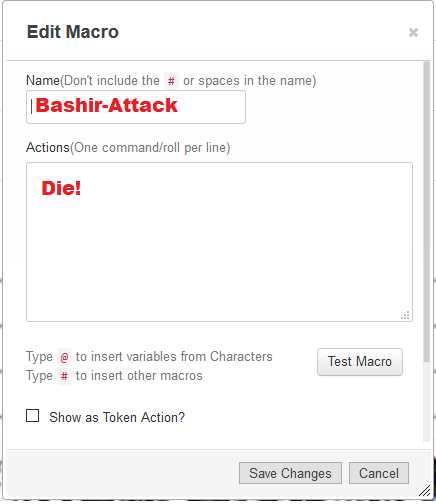
Will have the following output in the chat box:

Pretty easy. Now lets make our macro a little more complicated.
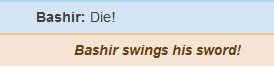
You can also make your character do actions, or “Emotes“. Remember, these are all things you can already do in chat! To make Bashir swing his sword, use “/em” before you type the action. For example:
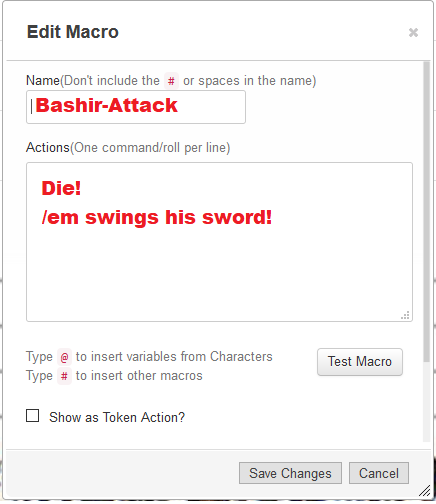
Will have the following output:
Pretty neat. Now to add the most important part, the roll.
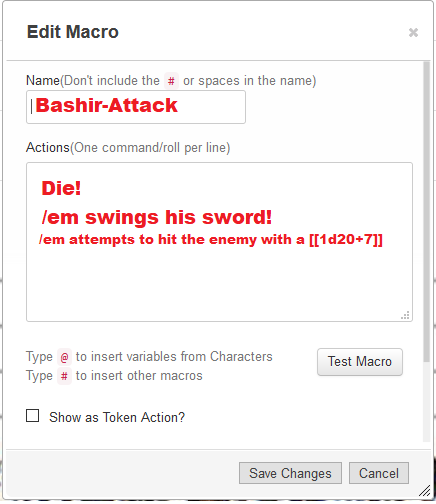
Perhaps the most useful function of macros, it allows you to embed rolls anywhere in your chat output in a very clean fashion that doesn’t clutter up everyone chat interface. To do so, you simply type the dice roll between double “[[ ]]” brackets. It can include some basic math as well. For example, if you wanted Bashir to swing the sword with a d20 and he has a +7 to hit, you would write:
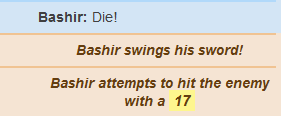
Will result in the following:
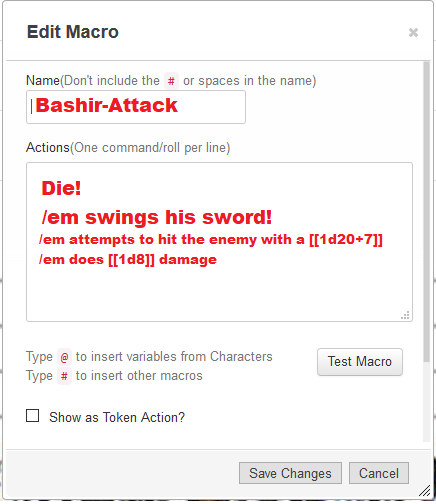
You can add any dice you want, for example if you want to do damage with a d8, you would simply add the following:
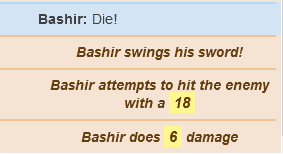
Will result in the following:
You can also account for things such as an increased critical range (i.e. if 19s are also crits for you), but that is currently beyond the scope of this particular guide. Now for the fun part – adding some flair to your macro.
Like everything in this guide, linking an image works the same in macros as it does in the actual chat tab during a Roll20 game. I know there has been some confusion regarding this that will hopefully be cleared up below.
To embed an image in chat or a macro requires the same syntax: you always start out with the characters “[x]” followed by the image link between parenthesis “( image location )“. So basically:
[x](image_url) |
| Type the bold characters exactly as seen. No spaces, no quotes. Replace “image_url” with the web address of the image you are linking. |
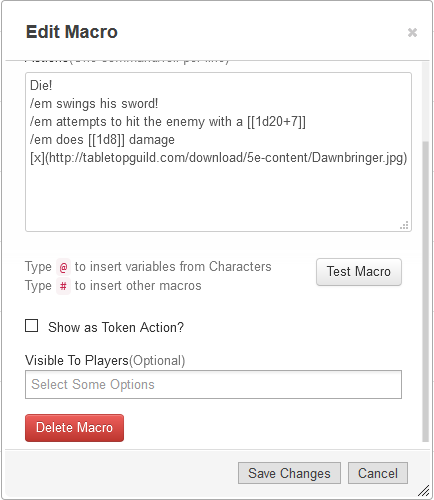
So for example, if I wanted to add an image of Dawnbringer to my swing, I would type [x](https://www.tabletopguild.com/download/5e-content/Dawnbringer.jpg):

To get the following chat result:
Often when you try to link an image all you will get is a broken link that goes nowhere and looks like x.
Unfortunately, images not linking correctly in Roll20 is a common problem. Roll20 is fairly strict in linking images. They must:
This doesn’t work if you have a .webp file. In this case you must covert .wepb files at this website, from which you can then link it directly.
Some .gif files are also actually movie files pretending to be gifs. You can give it a shot and convert them at this website but I make no guarantees.
After you click “Save Changes” when you are done writing your macro, you will probably find yourself back on the Collections tab in Roll20. To make your macro visible, simply click the “In Bar” option next to the macro.
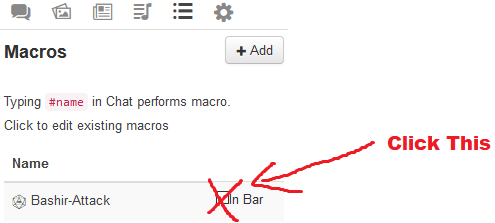
This will make it appear at the bottom of your play screen, where you can click it:
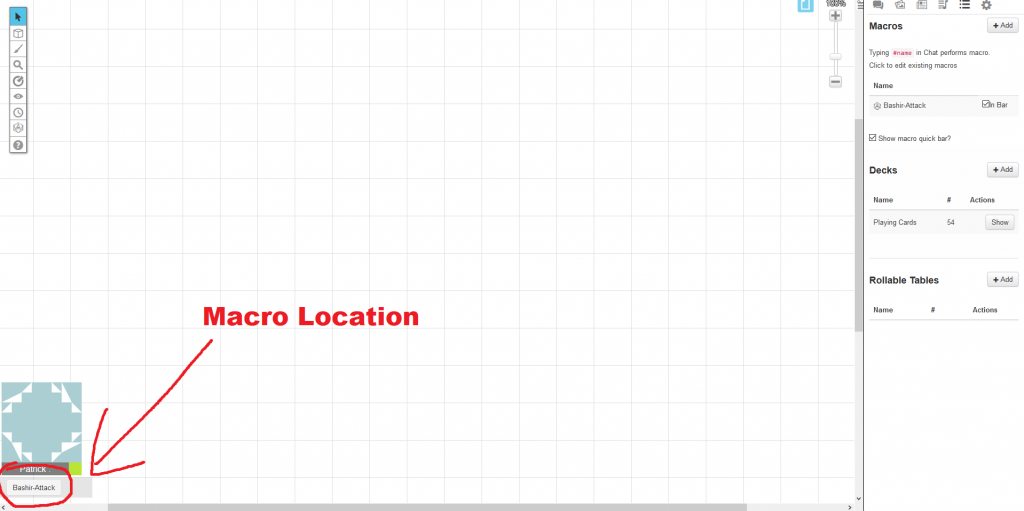
Simply click the macro’s name and you’re good to go! You can make a long list of macros and activate or deactivate them as you need them, keeping the ones you use frequently on you Macro Bar at the bottom of your screen. To deactivate a macro, simply uncheck the “In Bar” option again on the Collections tab next to the macro you want to deactivate.
Sometimes you just want to get rid of a macro. Easy enough, but somewhat hidden, is the red “Delete Macro” button hidden in the “Edit Macro” screen. It’s a bit hard to see; you have to scroll down a bit to find it.
Hope you all enjoyed the guide. If you have a suggestion for other areas you think need a guide, feel free to comment below. Or hell, write it yourself! If you want to submit a guide, send it to my email at mehxistence@tabletopguild.com and I’ll format it nice and neat on the website.

There’s been some changes to TableTopGuild.com!
Been bored during this Coronavirus outbreak, so I’ve delved a little into the website. Made a few minor changes:
I know we are fulfilling the last of these two items via Facebook, and it seems to be working fine. However, I figure I’d throw out the option to use our own website for it if we so desire.
Let me know if you have any other suggestions. ?
P.S. If you are interested in a custom email address with “xxx@tabletopguild.com“, let me know. I can forward it to your gmail address or whatever you use.