Threw up the new part for our Star Wars notes into the Game Notes. The old notes were 286 pages and were taking way too long to load, so I have started new ones in a Smuggler’s Run: Part Two. If anyone wants to have a go at editing them, please feel free to do so.
Super looking forward to Strahd this weekend. Hope to see you all there.
This dude looks a little like a younger John Travolta.
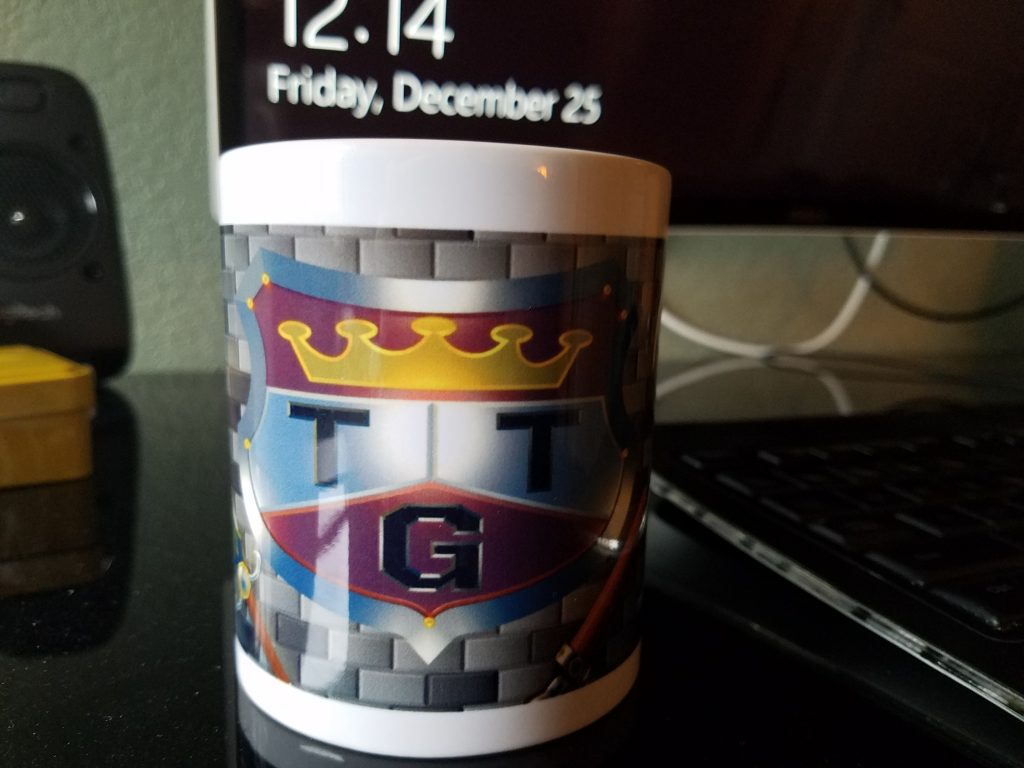
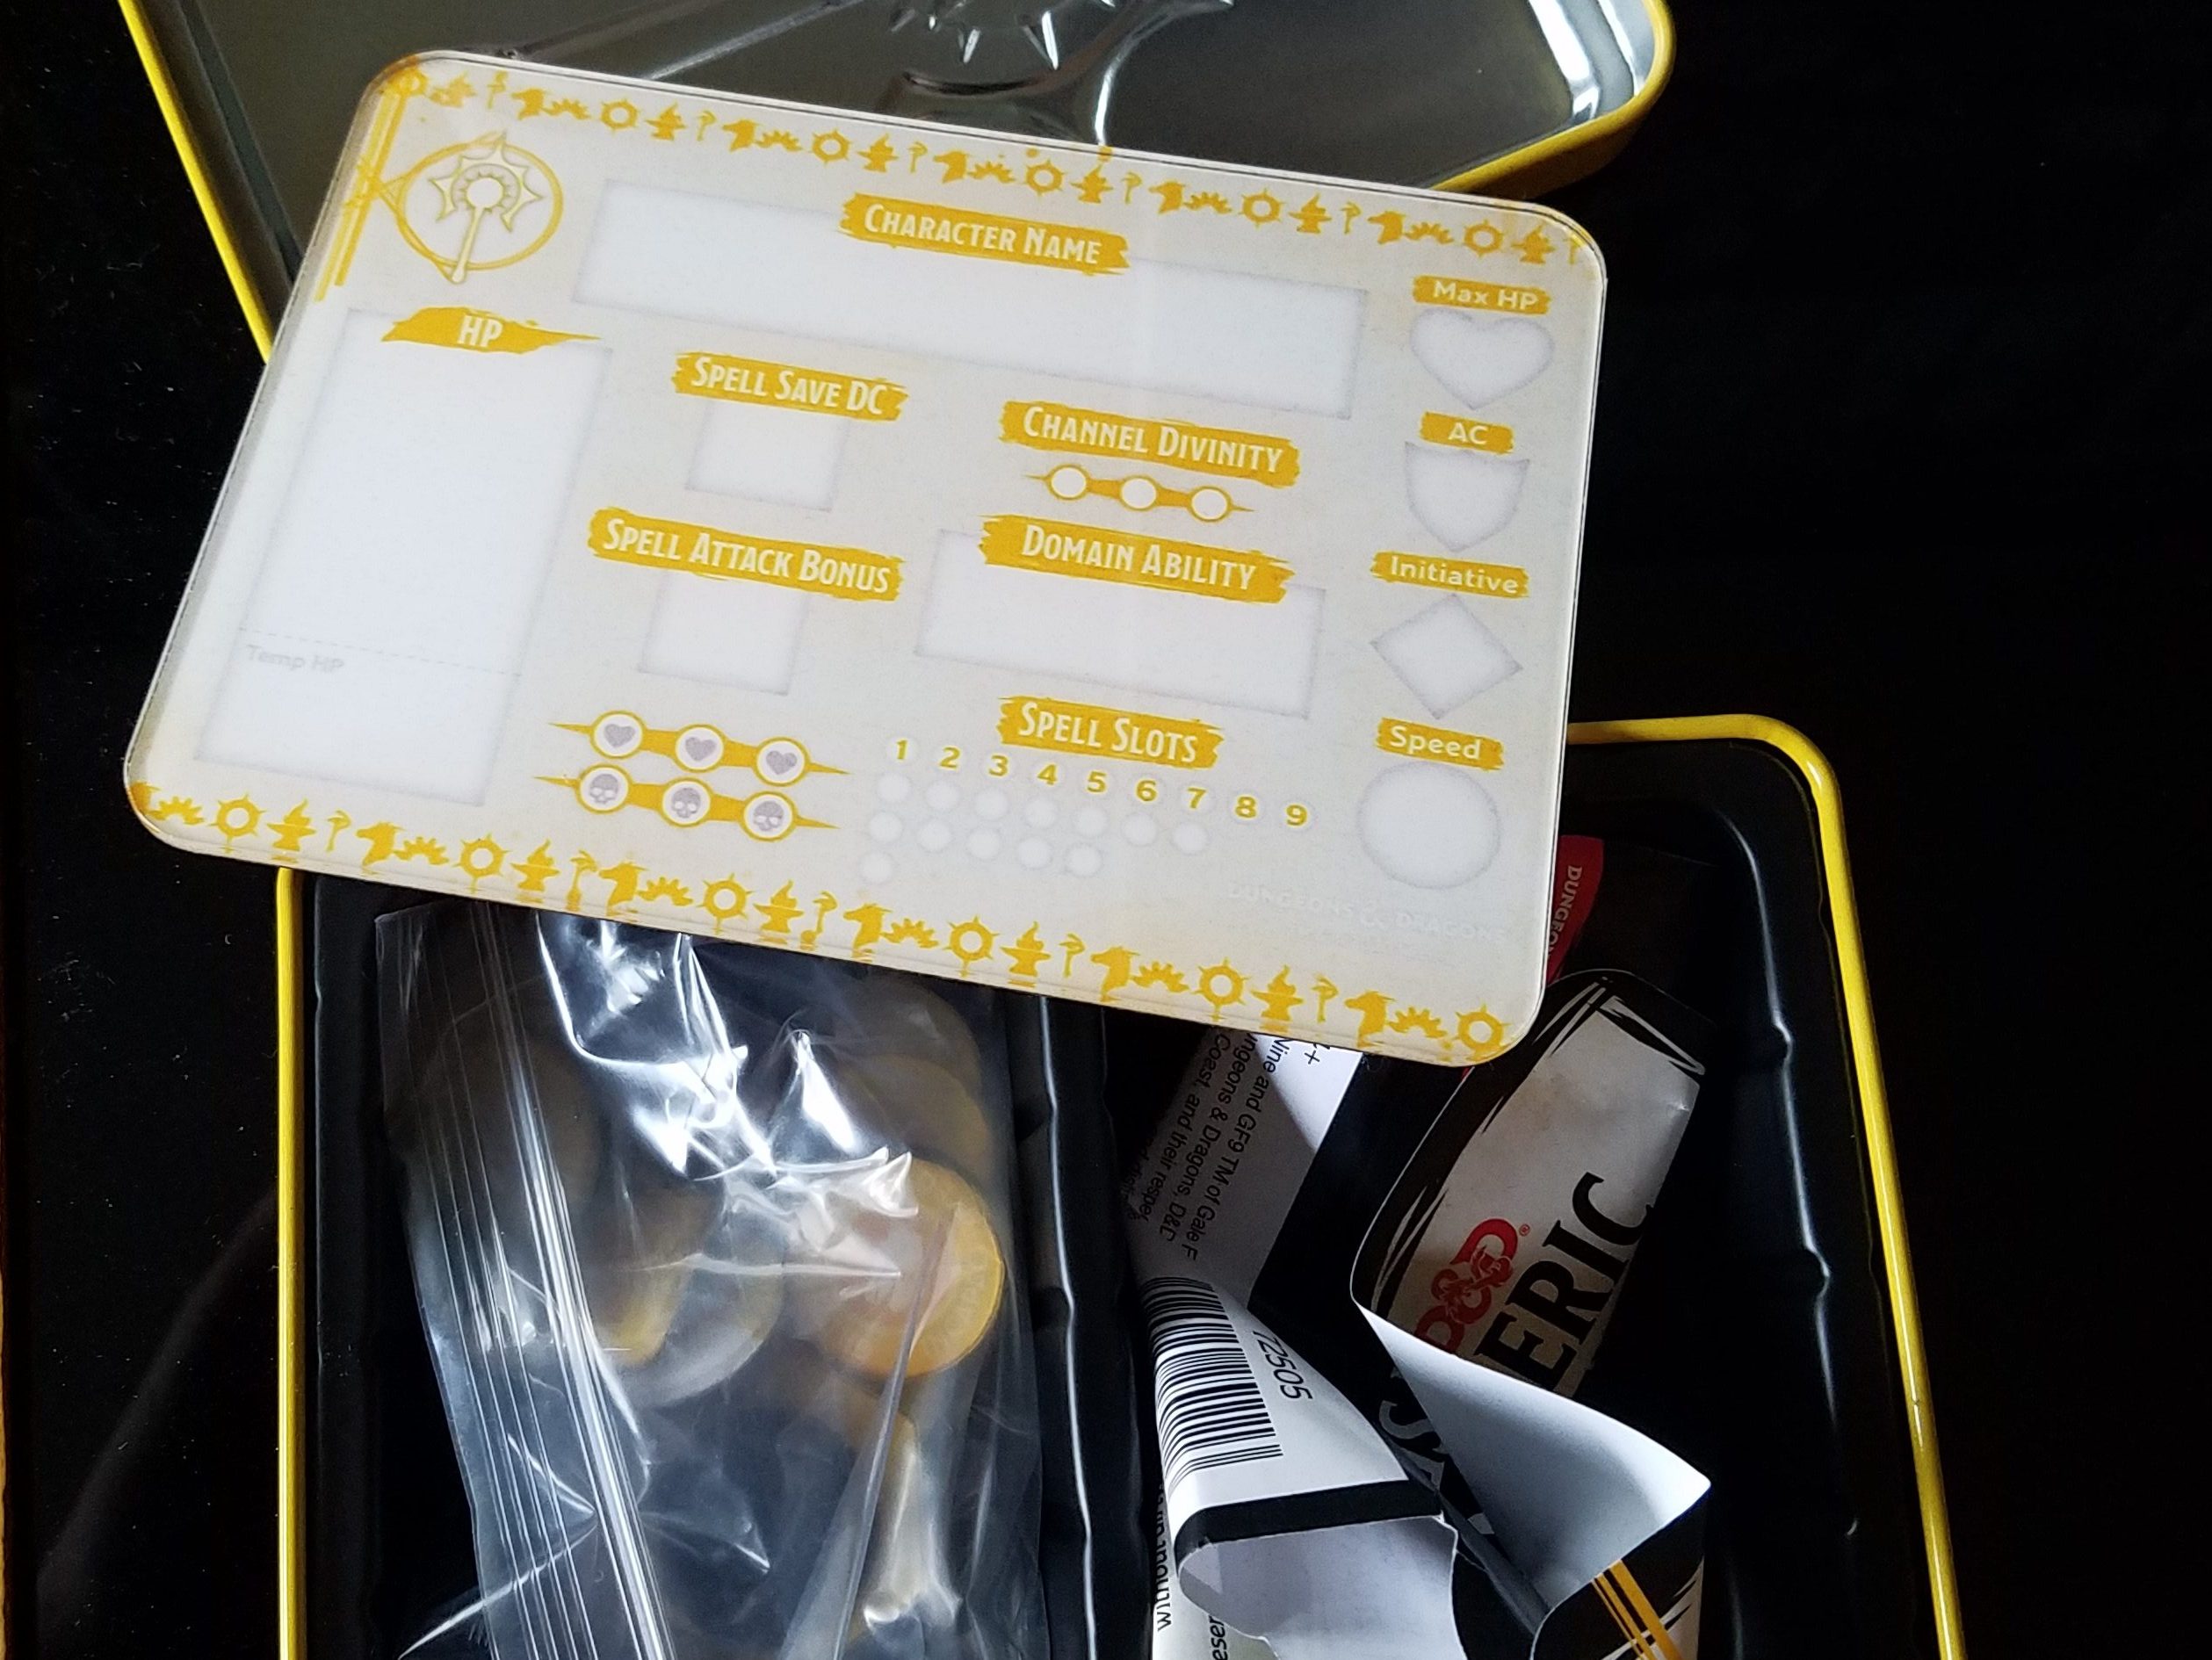
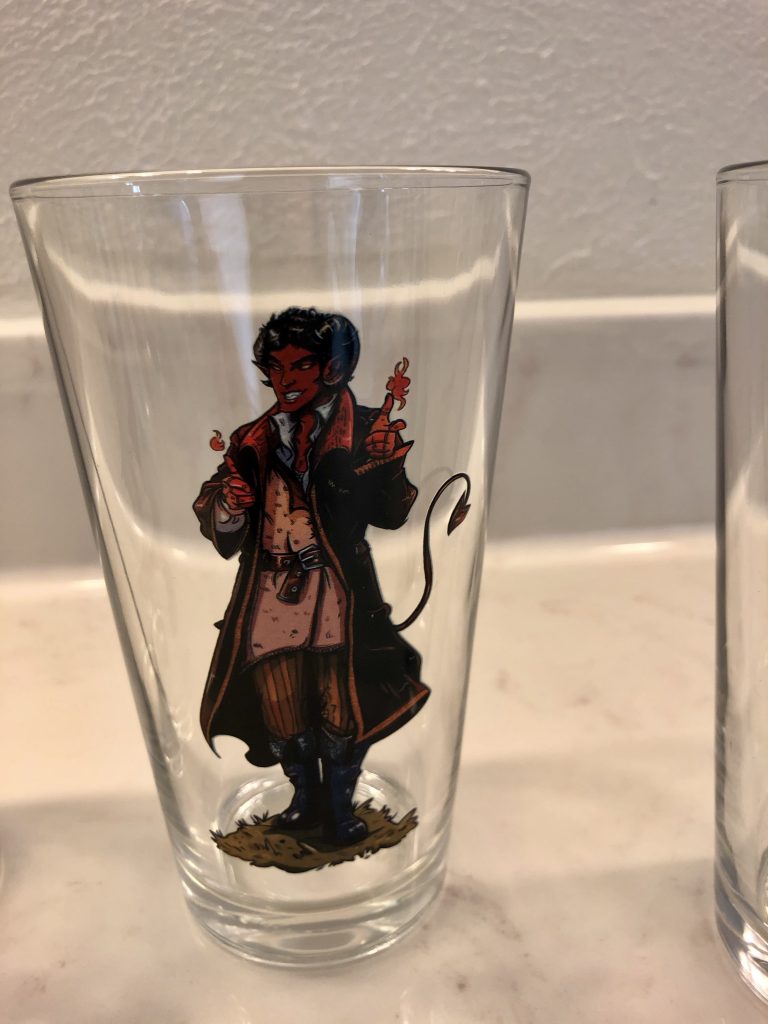
Hope the holidays are treating everyone favorably! I’m enjoying my new gifts! These two awesome gifts were exchanged at our last meetup, didn’t want them to be forgotten!
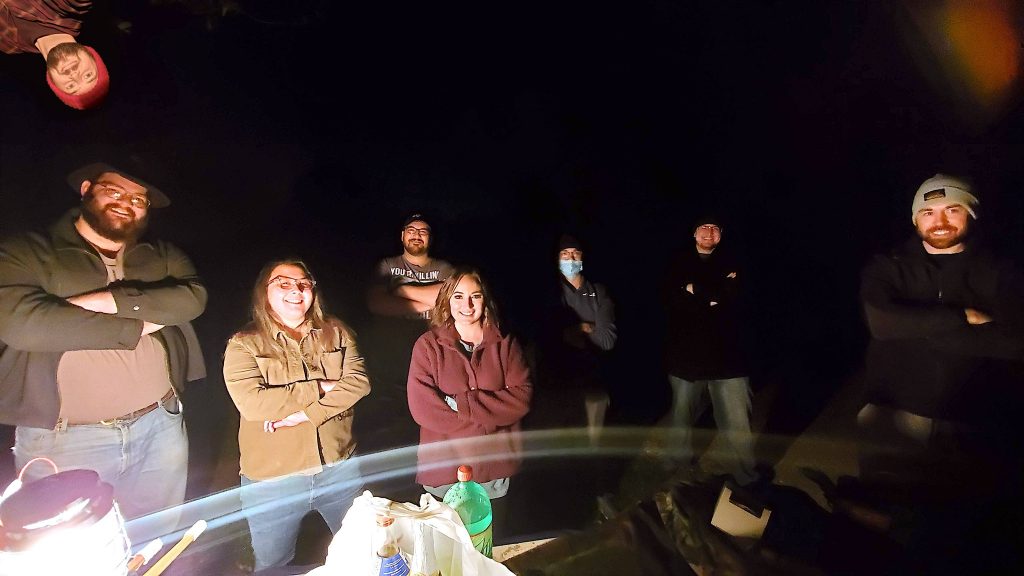
We had a meetup to exchange gifts and see each other in person for the first time in a while! Thanks to everyone who came.
Meeting at dusk.Everyone received their own customized mug with a picture of their D&D character, courtesy of Sam and Mikaela!Andy’s mug with his character Telchur.Anthony’s mug with his character 111 (aka Rook).Patrick’s mug with his character Milo Blossombrace. Grant’s mug with his character Alethra Artemel.Brett’s mug of his DM appearance. Mikaela’s mug with her character Enna. Matt’s mug with his character Drip.Sam’s mug of her character, Faust.It got dark fast.The gang. With Andy photoshopping himself in ?.
This is the 5e character sheet tool that I made on Google Sheets a while back. I still use it, though not quite as much since everything is on Roll20 now.
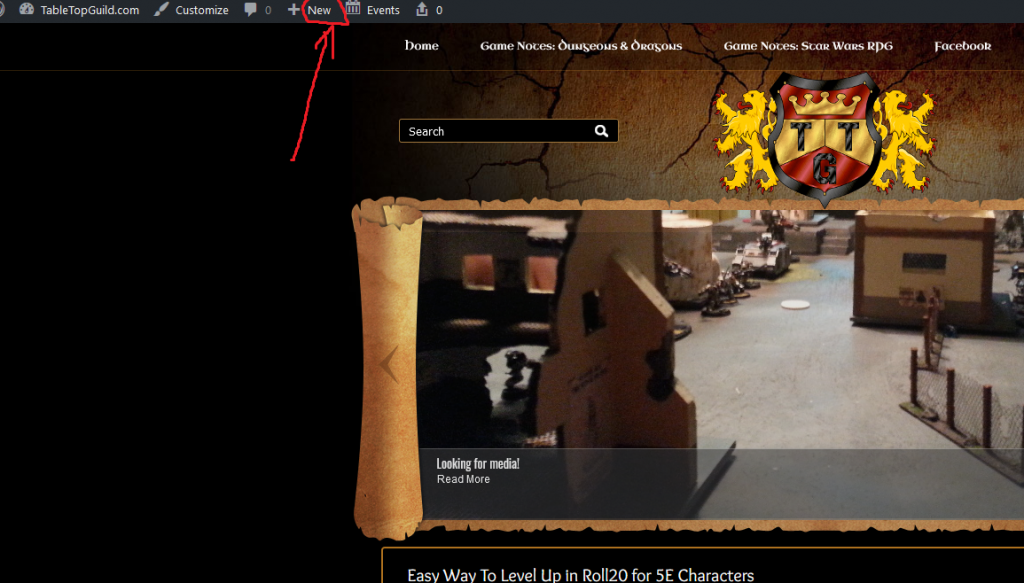
Click “New” then “Post” at the very top of your screen (once you log in with the proper credentials). Then click “Publish”. That’s it. It’s just like Facebook.
If you want to contribute articles to the website, contact Patrick and he’ll give you the credentials!
No sane person wants to manually enter all the new information from a level up if it can be avoided. Thankfully, Roll20 has an automatic level up process for 5E characters. Before you continue, you should backup your character in the Character Vault.
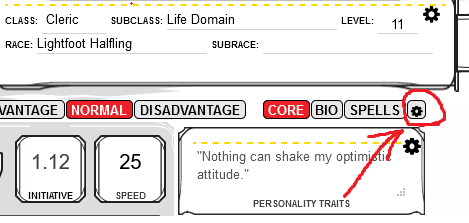
1. It’s easy to start the process from your character sheet. First, click the settings button pictured:
(Click the little gear.)
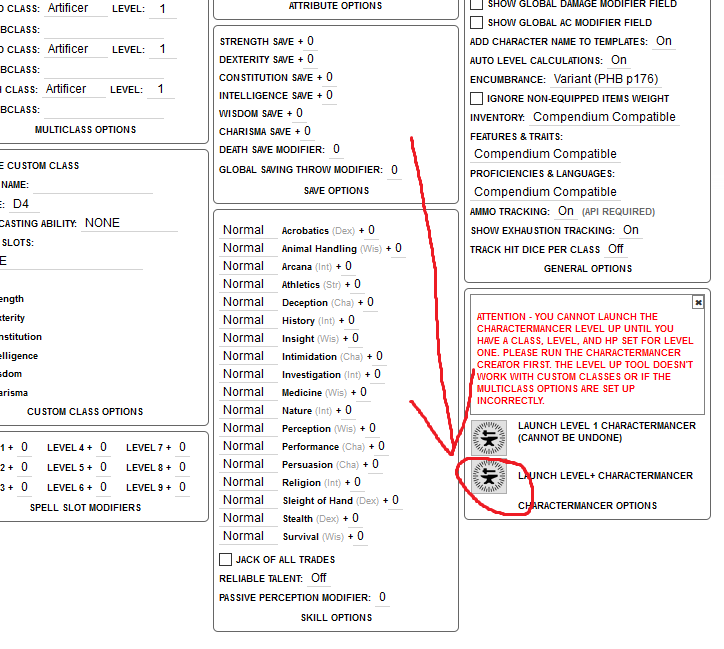
2. In the next screen, click on the “Launch Level+ CharacterMancer” button. Don’t click the top CharacterMancer button (“Launch Level 1”) or you’ll erase your character:
(Don’t click the Launch Level 1 CharacterMancer!)
3. Work your way through the next few dialogs and that’s it! Easy peasy. Just as a reminder, since we are playing by Adventure League rules you want to choose the “Average” HP when the increase in HP dialog box appears. Happy leveling!
I figure one of the better ways for us to utilize this website is to make it an archive for the pictures we have taken at War40K tournaments, tabletop D&D games, Roll20 shenanigans, etc. It should be a monument to us. Feel free to upload any media you have to our server in the “Archive” directory and I’ll compile an area for us to look at them!
If you need access to our file server, feel free to contact Patrick.
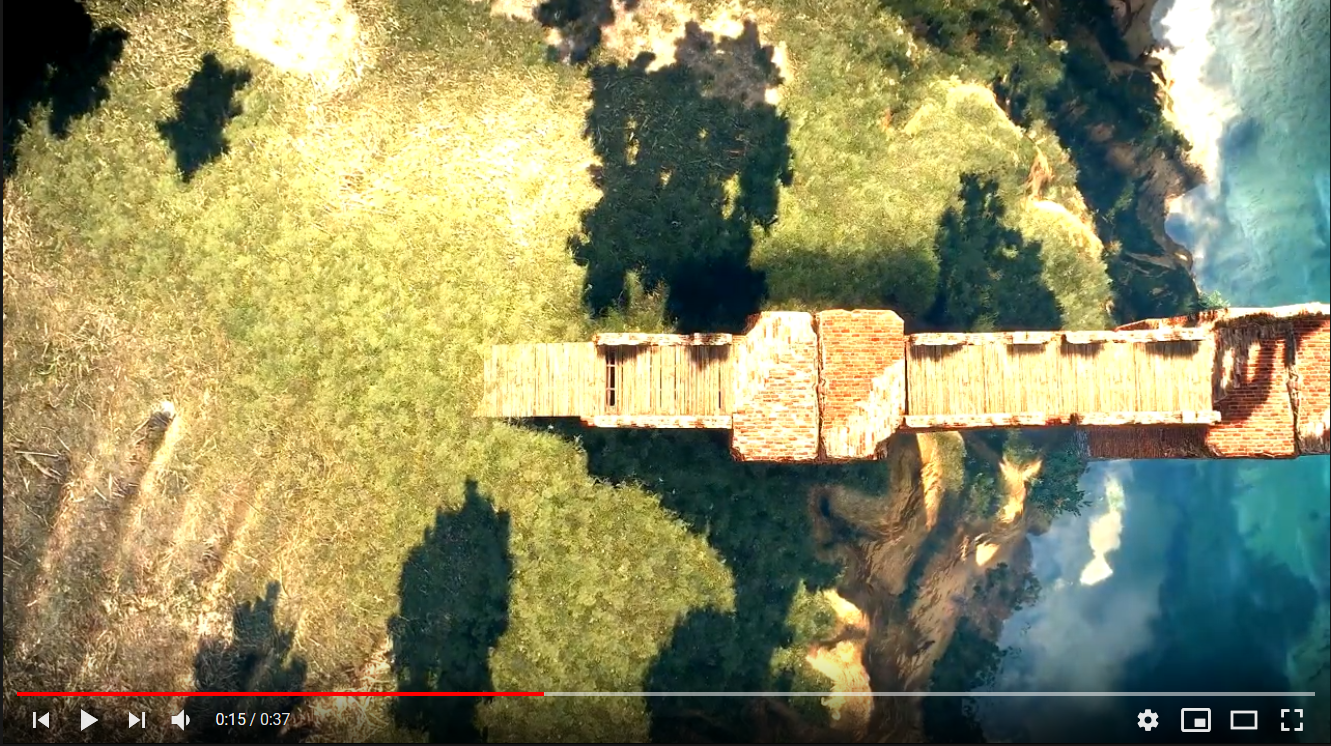
Ever seen those really cool animated backgrounds in YouTube and think to yourself “man I wish I could use that in Roll20”? Well, it turns out you can, with a few easy steps. I tested it out earlier tonight and it works great. You could have maps like the one below for your players in 8 easy steps.
Download the Needed Software
Download Roll20 Enhancement Suite – it is a simple browser addon, like an adblocker. Every player in your game needs to download this for them to see the animated map. They should anyway, as the extra functionality it gives Roll20 is gives is pretty cool.
Download VLC. Only the GM needs to do this, for reasons described below.
Setting Up Your Animated Map
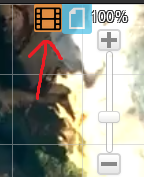
1. After your fresh download of the Roll20 Enhancement Suit, you should now have a new icon in the player area with a roll of film.
Button for Animated Background Setup
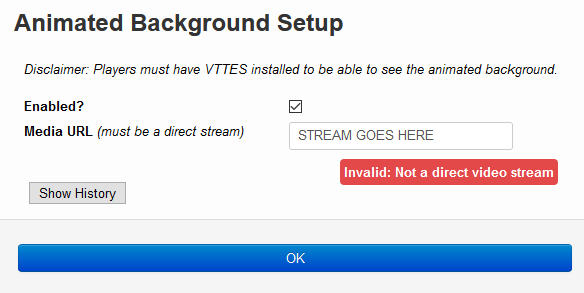
2. Click on this new icon will bring you to this screen:
Animated Background Setup Screen
The only part that concerns us in this dialog box is the “Media URL” input, where I have written “STREAM GOES HERE”. You need to fill this in. This has to be a direct stream URL, not the YouTube URL that we are familiar with, so we have to convert it. Which brings us to our next step and why you needed to download VLC.
3. First, choose the YouTube animated background map you wish to use and open it in its own tab. Copy the web address in the address bar to your clipboard (CTRL-C). You will need this address in a moment.
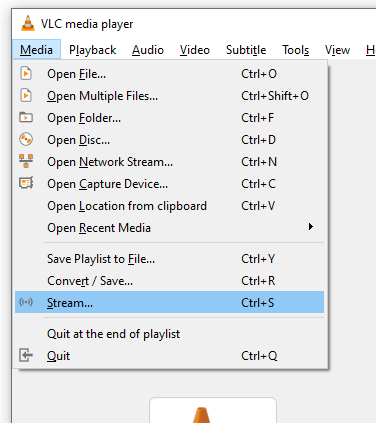
4. Open VLC. Click on Media on the menu bar, then Stream….
Click “Media”, then “Stream…”
5. Click the Network tab. Paste the URL of the YouTube video you copied earlier where it says “Please enter a network URL” and click Stream below. Then push Next (the next few dialogue screens don’t matter, so keep pushing it) until the video is loaded.
Click “Stream” then “Next” a few times without worrying about the next few screens.
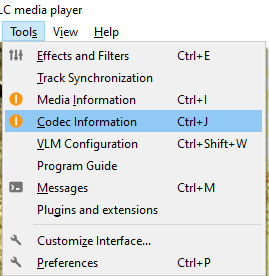
6. The video should start playing, but ignore that for now. What you want to do is click Tools in the menu, and then click Codec Info (or just press CTRL-J).
Click “Tools” then “Codec Information”
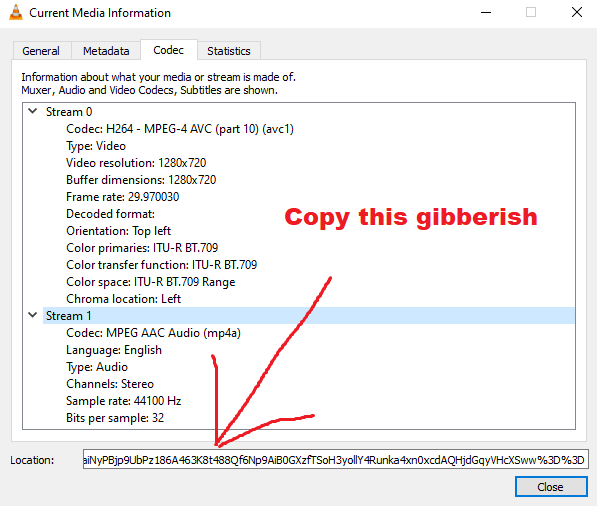
7. On the bottom of the new box, there will be a Location with a URL. Right click it, “Select All“, right click it again, “Copy“. This is the MEDIA URLto the video that the extension on Roll20 was asking for.
That long line of gibberish is the “Media URL” that the Roll20 Enhancement Suit needs to run the animated map.
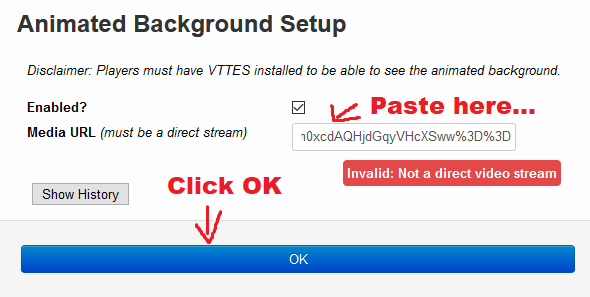
8. That long line of gibberish is the “Media URL” that the Roll20 Enhancement Suit needs to run the animated map. Make sure you copy the whole thing! Paste it into the Media URL in the Roll20 Animated Maps Setting and that’s it! It should load automatically.
Final steps!
Final Thoughts
It might appear daunting at first with all 8 of these steps, but I assure, it’s super easy once you get the hang of it.
As a side note, I’ve only figured out how to do this today and I’m sure there will be bugs found in the future. I’ve already discovered one: the “Media URL” seems to expire after a few hours, so you have to do the whole process with VLC just before your game. I’m sure others will be found as well. But it sure it cool technology I think we should use.
Finally, I feel like I have to note that you can use any video for a map, not just a YouTube one. It is outside the scope of this guide, but if we run out of YouTube maps I can write a guide for that as well (it is a different process).